
1. Prerequisites
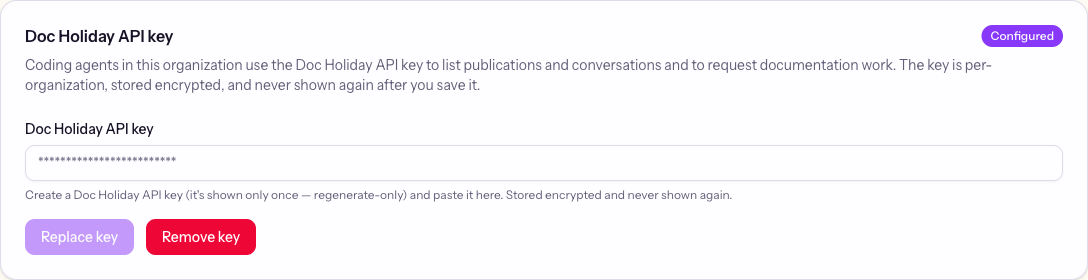
Have a coding agent that supports MCP and a gloria.dev account before starting. Create or join an organization, then create a Doc Holiday API key from the organization’s Settings page.
If your account already belongs to an organization, Gloria takes you straight into that organization after sign in. It does not ask you to create another one, so continue the quickstart from there.
2. Install the MCP server
gloria.dev provides a remote MCP server, so there is no local server process to run. In Claude Code, add the marketplace plugin and let it register the remote server automatically:
/plugin marketplace add gloriaAfter the plugin installs, restart Claude Code. The plugin connects Claude Code
to the remote MCP server at https://mcp.gloria.dev/mcp. Claude Code opens a
one time browser sign in flow on the first MCP call.
For the full agent by agent setup matrix, see Install the MCP Server.
3. Register a project
Create the project in the gloria.dev web app first, then use MCP tools against that project from the agent. The Doc Holiday API key in Settings authenticates documentation requests for the organization, and the project in the web app gives the MCP tools a place to read and manage project data.
Once the project exists, switch back to the agent and continue the workflow through MCP instead of setting up the project by hand in prompts alone.
For the dedicated setup flow, see Register a Project.
4. Set Up Your Repo
For a fresh repo, ask your agent to run setting-up-a-project. It creates the
first project setup and then offers setting-up-gloria if Gloria wiring is
needed. If the repo already has Gloria wiring, ask for setting-up-gloria
directly. For the full recipe, see Set Up Your Repo.
Ask your agent: “Set up this fresh repo with
setting-up-a-project.”Your agent creates the first project setup and then offers
setting-up-gloriaif the repo also needs Gloria wiring.
5. Run your first tool
Start with a short skill library flow.
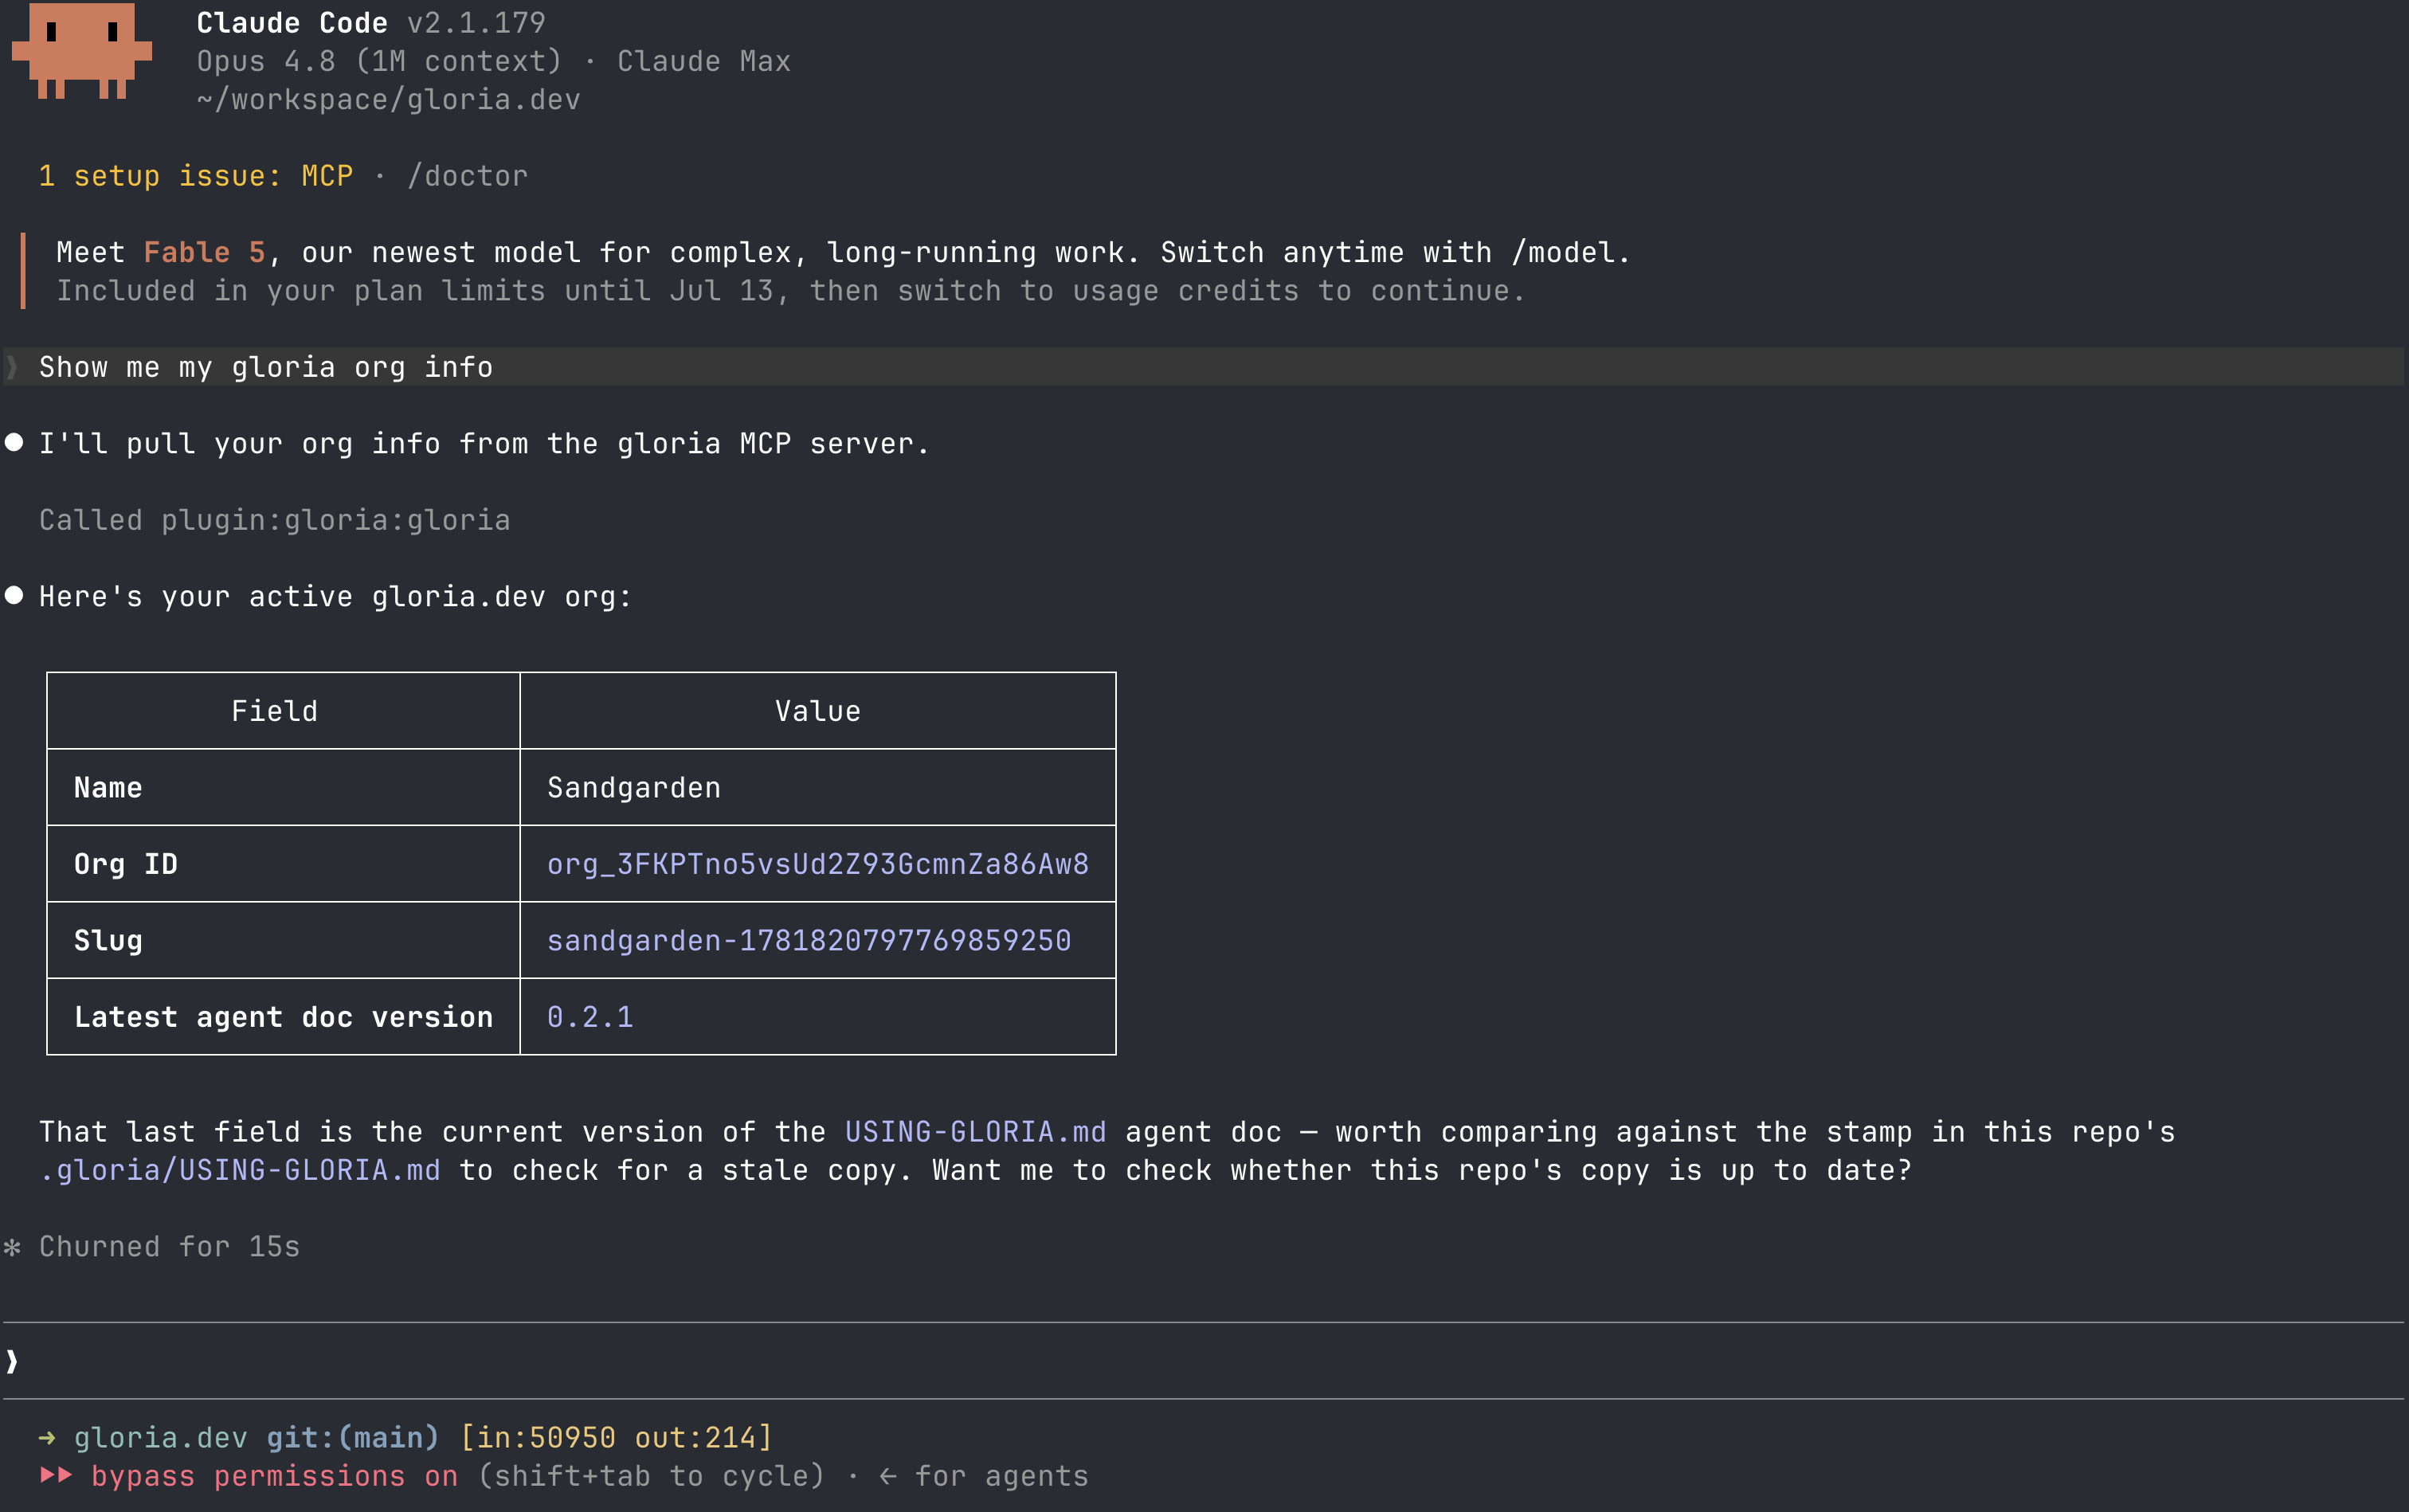
First, confirm that the MCP connection works:
{ "tool": "get_info", "arguments": {} }The result should describe the active organization and confirm that the agent is connected to gloria.dev.
Next, search the skill library for something relevant:
{
  "tool": "search_skills",
  "arguments": { "query": "documentation" }
}
The result should list matching skills with short summaries so it is clear which one fits the task.
Then fetch a specific skill:
{
  "tool": "get_skill",
  "arguments": { "slug": "defining-the-documentation-site-map" }
}
The result should return the files for that skill so the agent can use it directly. This first run confirms the MCP connection, shows how discovery works, and retrieves a real skill in one short flow.
For a fuller walkthrough, see Run Your First Tool.
6. What’s next
Continue with Canary for monitoring workflows. Go deeper into Skill Library to find and use more agent skills.